Getting started with Web Demo2 web site
This chapter describes how you can install and run the "Web Demo2" web site downloadable from developer.mywakes.com.
You can also test out "Live Web Demo2" by clicking here: 
In particular, this chapter covers the following:
Introduction to MyWakes Developer Web Demo2
In order to better understand the REST Interface to MyWakes WEB API you can download and run this "ready-to-use" Demo Web Site. This website is a fully functional and well documented example of the powerful and neatness of our platform.
Prerequisites for using the Demonstration web site
First of all you need to create a MyWakes account: you can do this at www.mywakes.com/anonymous/newuser.aspx page.
After that you have to ask for an Application ID (AppId) simply filling the form at www.mywakes.com/contact.aspx.
The web site is brought to you along with the .NET client library that you can generate at Download SDK page.
The other requirements are that you have to download and Install Microsoft .NET Framework 4.5.1 with all service packs and updates and Microsoft Visual Studio 2008 or later.
Performing configuration tasks after opening the demo
Download and unzip the file called WebDemo2.zip into a folder.
Then open Microsoft Visual Studio go to File / Open / Web site... and select the folder containing the uncompressed web site.
When the project has opened take a look at Web.config file and change custom values.
Here you can find the row where you must specify your target framework. In our example we put a reference to Microsoft .NET Famework 4.5.1 but you can change this to fit your needs (remember it must be at least the version 4.5.1).
The demo comes with clients for version 4.5.1. If you have a .NET lower version (2.0 or higher), download the client for your version at Download SDK page and replace it in the demo.
<httpRuntime targetFramework="4.5.1" />
<compilation debug="false" targetframework="4.5.1" />
Another needed setting is that you find in <appsettings> section.
<appsettings>
	<add key="AppId" value="YOUR_APPLICATION_ID" />
	...
</appsettings>
|
AppId
|
Register as a MyWakes Developer filling this form: http://www.mywakes.com/contact.aspx then you will receive your ApplicationID that has a format like xxxxxxxx-xxxx-xxxx-xxxx-xxxxxxxxxxxx |
If you need to retrieve those information, such as AppId, later you can login into MyWakes web site and go to Profile / Your Application Id.
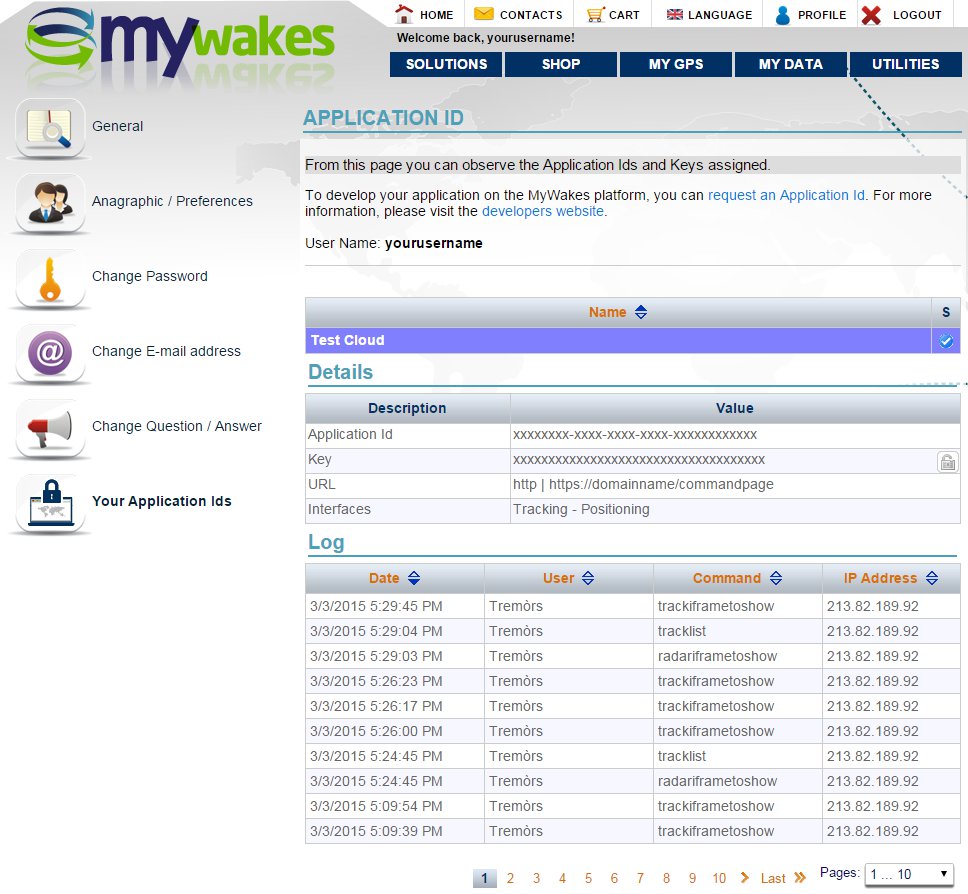
If you want to publish you custom demo web site you can apply a simple form authentication in order to protect your information.
In web.config all you need to do is to uncomment this piece of code and set the Username and Password pairs that you want to enable:
<authentication mode="Forms" >
	<forms loginurl="Login.aspx" >
		<credentials passwordformat="Clear" >
			<user name="User1" password="password1" />
			<user name="User2" password="password2" />
		</credentials>
	</forms>
</authentication>
<authorization>
	<deny users="?" />
</authorization>
As final option you may want to enable all anonymous users to see your default page: for example you can put here a description of your services and products. You can reach this purpose simply uncommenting those lines:
<location path="Default.aspx">
	<system.web>
		<authorization>
			<allow users="*" />
		</authorization>
	</system.web>
</location>
This web site have also three themes that you can choose from and you can switch from one to another simply changing this line:
<pages theme="Blue" />
Running the demo
When you have finish to set up your demo you can execute it in Microsoft Visual Studio Environment and see what happens!
Feel free to contact our developer support at www.mywakes.com/contact.aspx.
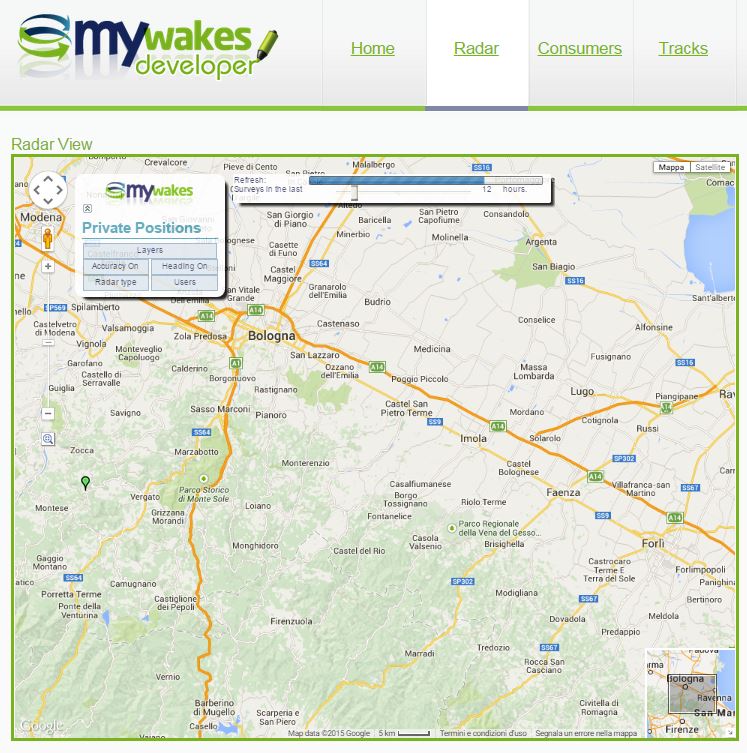
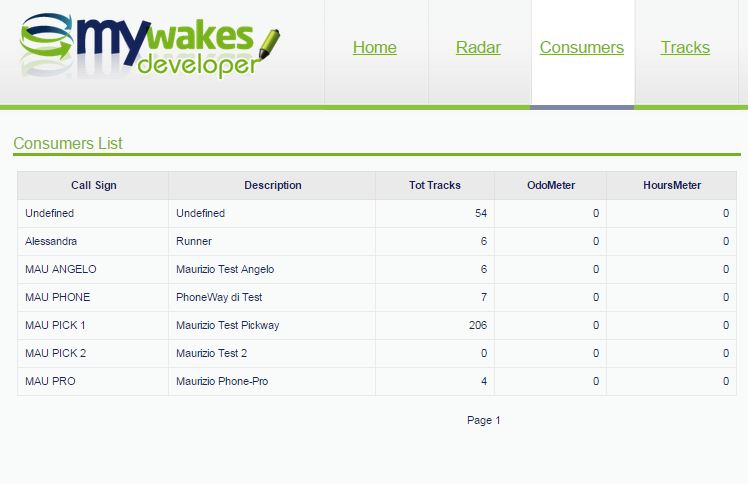
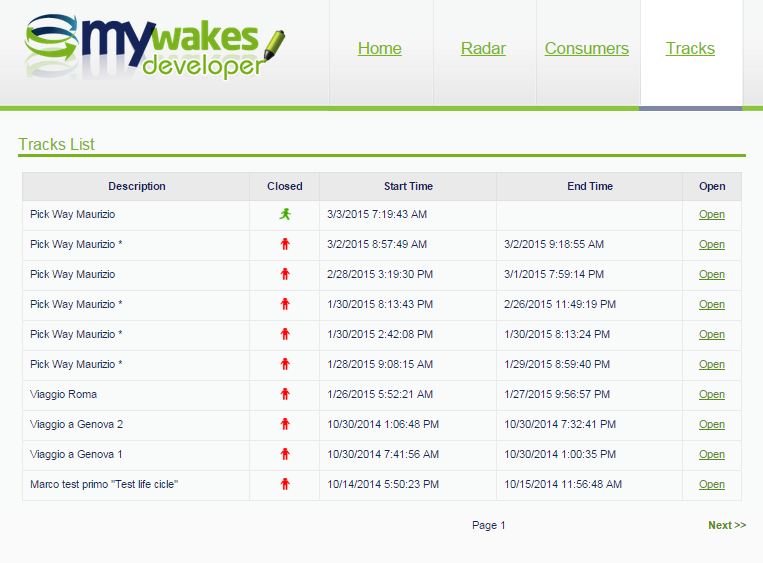
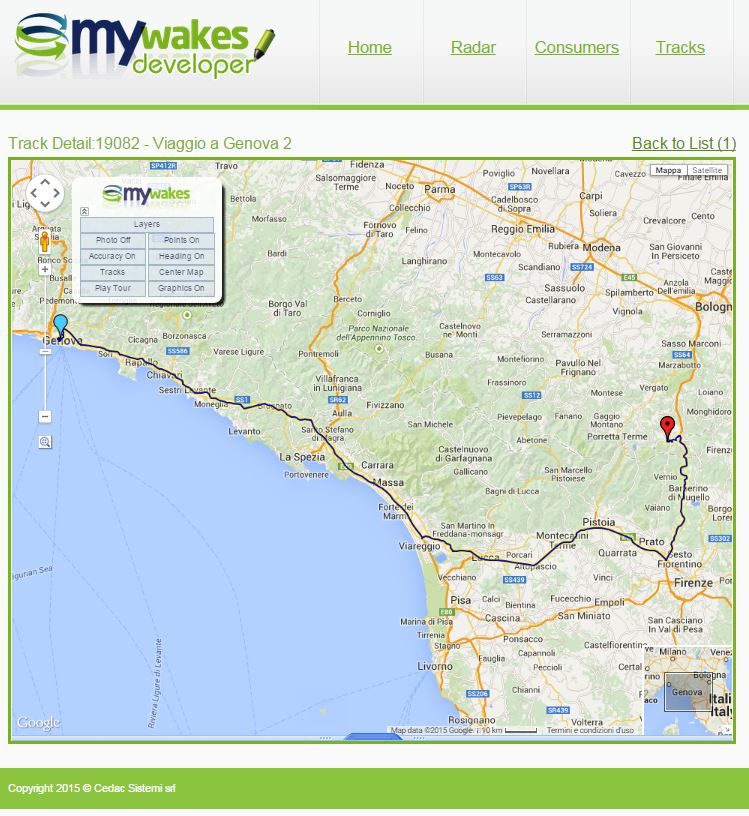
Screenshots
